Monthly Archives: June 2016

Space Hulk Diorama (11) – Painting Metal

Terry Callier ‘Timepeace’


How to paint metals.

I don’t really like painting metallics, because they’re so fiddly. To simplify matters, I tend to use alcohol-based paints to provide the basecoat, as they provide an even coverage in 1-2 coats; whereas regular water-based metallic paints require at least half a dozen. It is quite difficult to apply, however, and you need alcohol brush cleaner to clean your bristles; so I only use it on large areas, with a cheap painting brush.

These were the colours used – the Vallejo liquid silver as the base:

001

Regular metallic paints to cover smaller elements – such as the copper pipe; and to highlight areas.

006

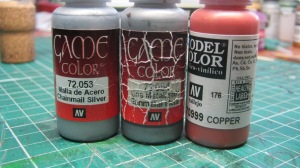
Gold for the brackets:

026


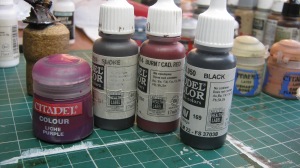
Smoke and Black to shade:

003

Flat earth and tank brown to create rust-effects:

004

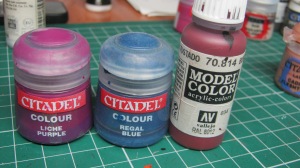
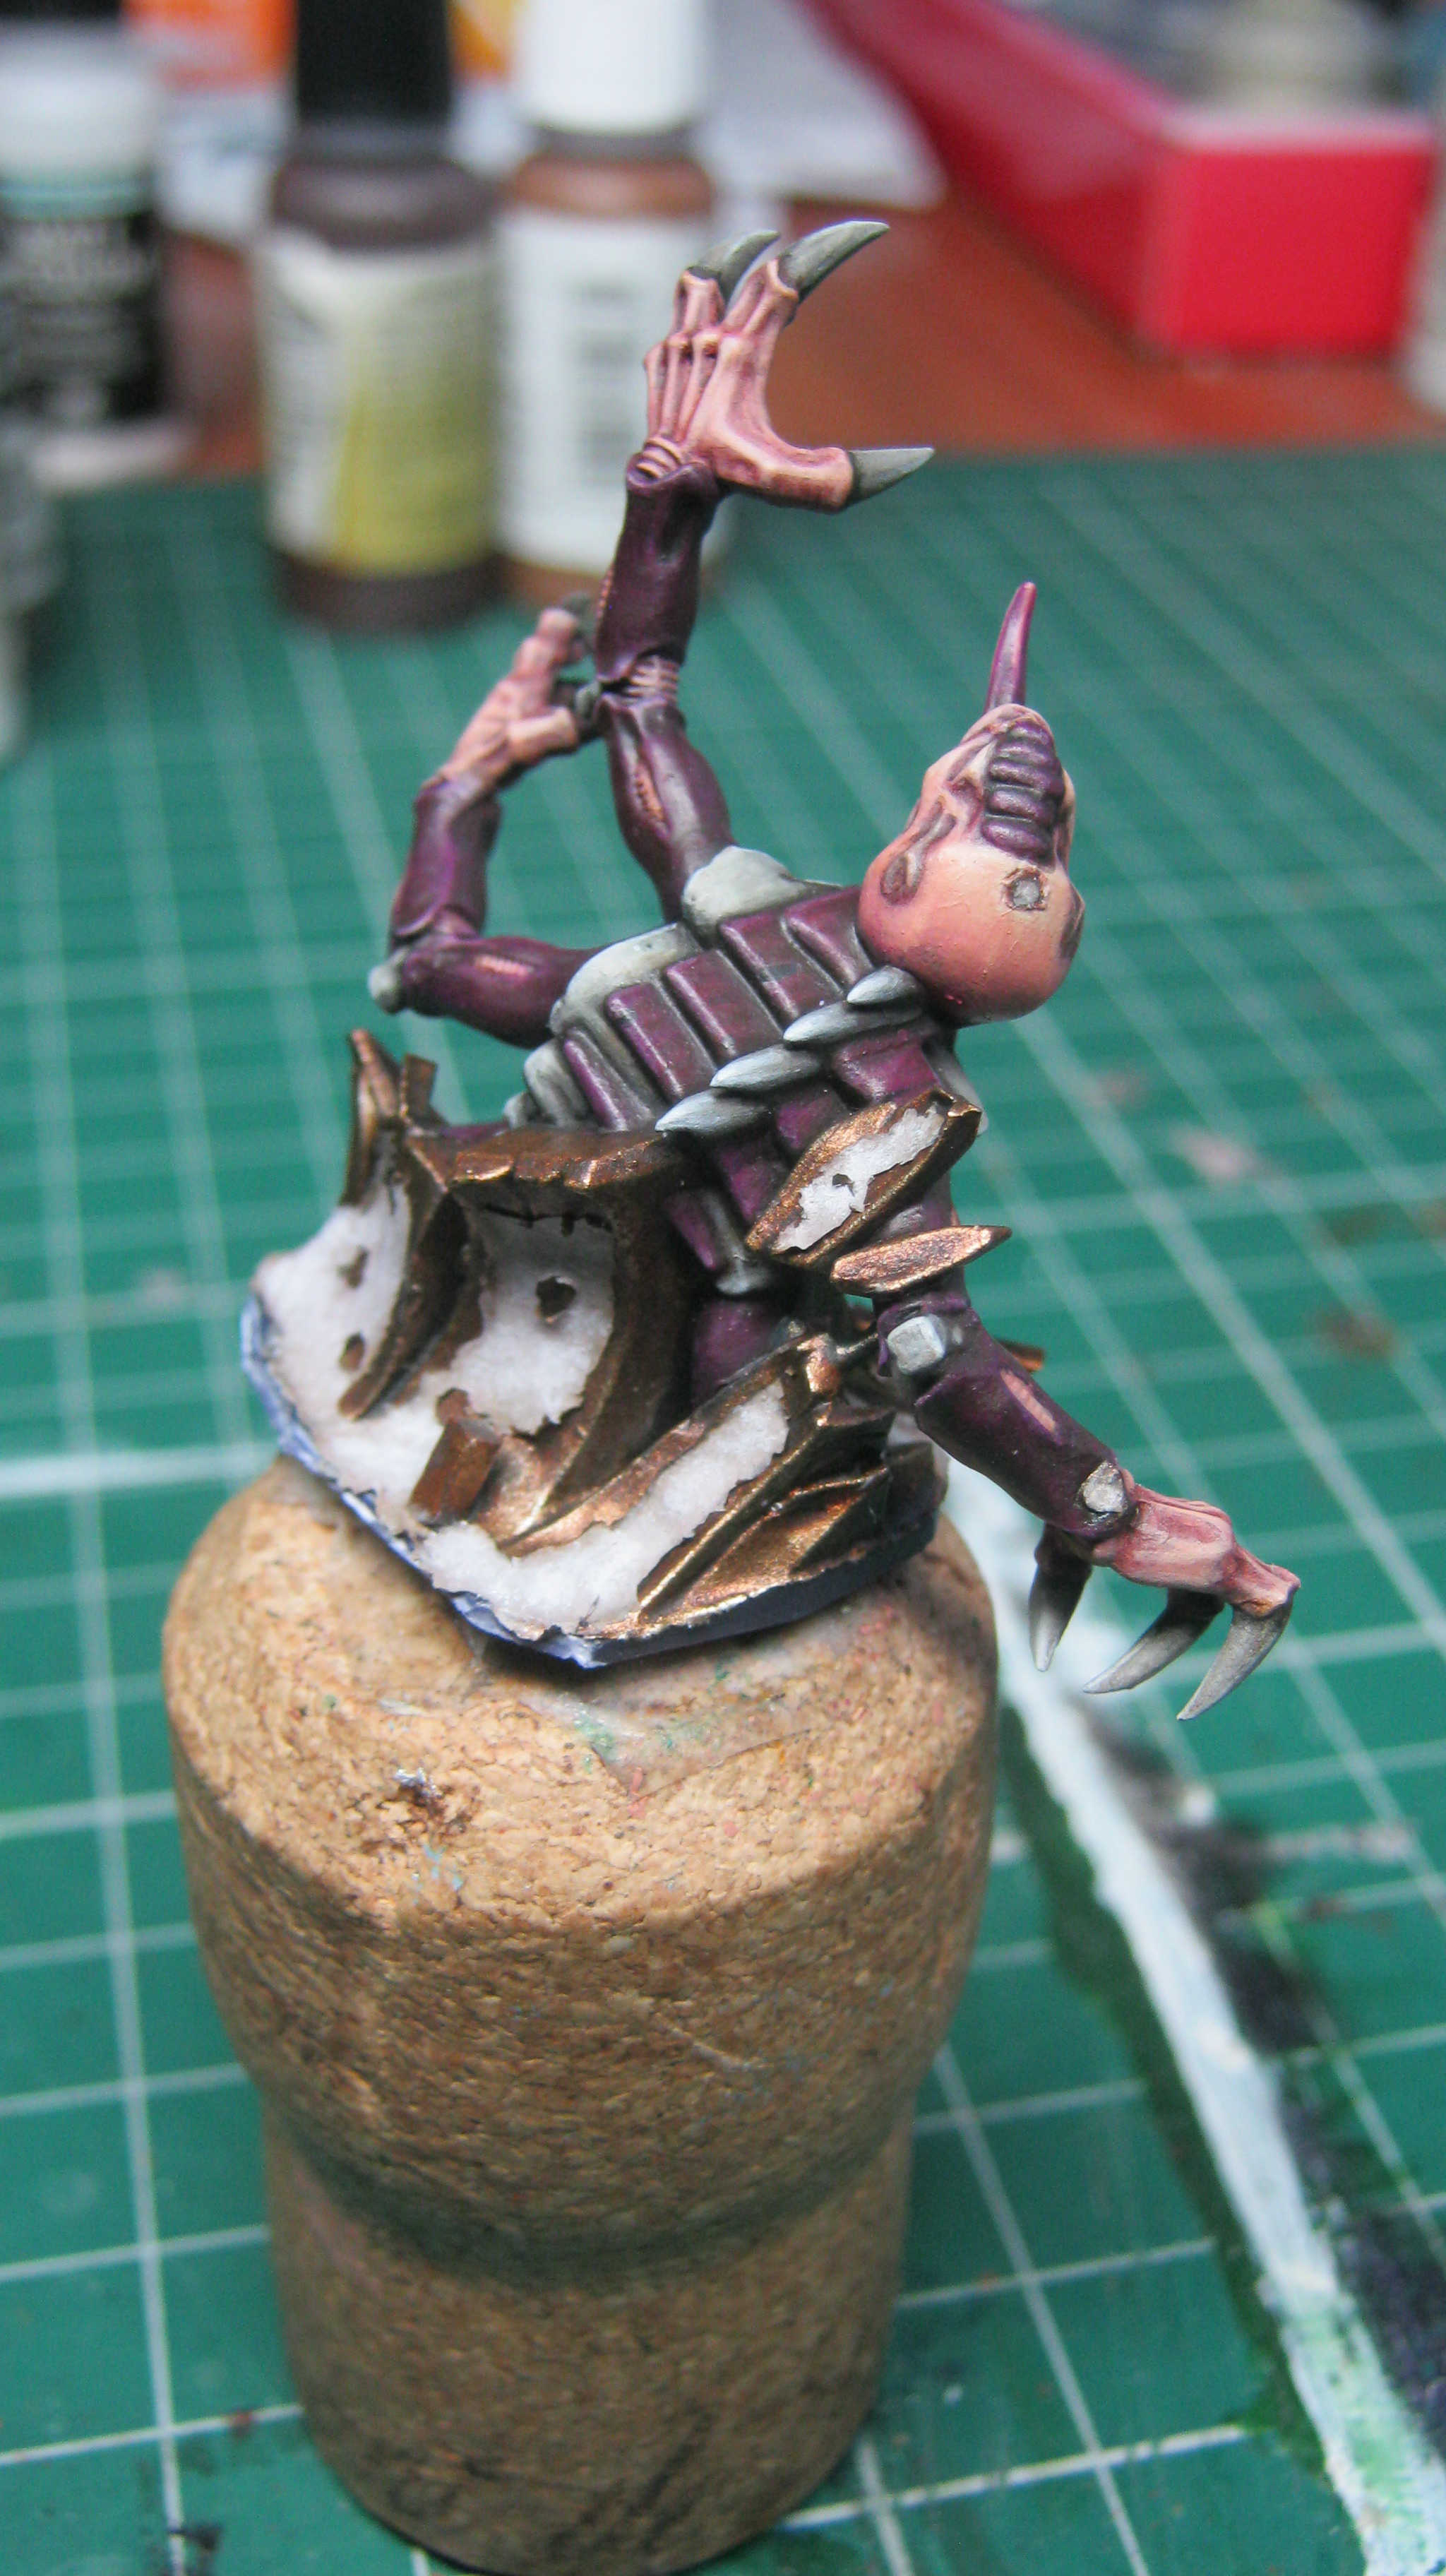
Green, turquoise, and rotting flesh to create a verdigris effect:
019

I also use Leviathan purple to glaze silver areas – but this is purely optional.

Basecoat the metal areas:

002

To weather the metal, apply several thin washes of Smoke; leaving each one to dry before painting the next layer:

008

You can see how each layer gradually deepens the colour:

010

014

Paint a glaze of black over the whole area:

016

To create a verdigris effect, paint a wash of dark green over the copper pipe:

020

Add turquoise to this, and blotch it over the pipe – keeping the mix watery:

021

Add rotting flesh to the dark green/turquoise mix, and paint this on in patches:

023

Highlight the copper pipe by stippling-on copper (as it happens, the verdigris effect was a bit vivid, so I glazed it with smoke later on):

025

Edge highlight the metal areas with the gunmetal silver, stippling it on to the bolts; then highlight the corners/edges of bullet holes and scratches with chainmail:

028

I decided to paint yellow/black hazard bandings over the metal beam. So, add patches of masking fluid:

031

Paint over this with dark brown (Vallejo’s USA Olive Brown here):

032

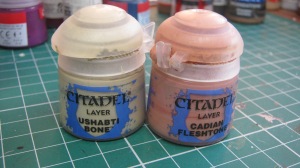
These were the colours used to paint the bandings:

033

Basecoat the metal beam golden yellow; then plot out the bands:

035

037

Overcoat these with black:

039

Wash the whole area with several thin layers of Smoke:

040

Highlight by stipling goldbrown onto the yellow bands; and black + khaki (2:1 ratio) onto the black ones:

041

Remove the masking fluid:

044

Edge highlight: the yellow areas with goldbrown + ushabti bone; and add a bit more khaki to the black/khaki mix. Concentrate on the edges of the beam, the frays around the chipped areas, and the bolts:

047

Give the whole area a thin glaze of smoke; and use the tank brown/flat earth to create patches of rust:

050

To finish off, I glazed the whole area with matt-medium, which tied it together. Done.

Keep well.

Space Hulk Diorama (10) – Painting Genestealers

Jale ‘Despite’ 

It took a fair amount of trial and error to create a colour-scheme I liked, and one which would fit the backdrop of the Space Hulk panels; so the photos are a bit out of sync.

However, the basic colours were purple, and blue-grey for the main body; and a pale flesh colour for the skin. I usually basecoat all areas of models, and give them a generic shading wash, before painting each aspect up individually. This is purely down to personal preference – lots of people take a completely different approach; for example, the Ork on SproketsSmallWorld is being finished one element at a time; it’s really just a question of what you find easiest.

Painting skin

These were the colours I used:

006

007

Basecoat – Cadian Fleshtone:

001

Shade – wash with a mix of Liche Purple + Smoke + Burnt Cadmium Red + Black in equal parts:

004

Layer – paint the raised areas with Cadian Fleshtone; and then with Cadian Fleshtone + Ushabti bone (2:1 ratio).

010

Highlight – first, a layer of Cadian Fleshtone + Ushabti bone (1:1 ratio); then a layer of Cadian Fleshtone + Ushabti bone (1:2 ratio).

Finish with a final highlight of pure Ushabti bone:

011

It looked a bit plain at this point, so I used a colour-fade technique on the head – shading it using several glazes of purple. This was watered down until it was very thin:

019

I used these colours:018

Starting with a layer of dark red, then adding purple, then adding a small amount of blue, in successive glazes:

024

The carapace itself was basecoated with USA Olive Brown, and layered with Celestra Grey. It was then shaded with smoke, along with black in the recesses. This was highlighted by layering Celestra Grey on the raised areas, then Celestra Grey + white, and then final edge highlights of pure white.

046

The purple area was a bit more tricky – as the usual method I use, highlighting with Warlock purple, looked too garish; and the second attempt I made using Fenrisian grey as the highlight was a bit dull. I think I eventually managed to get the balance right though.

These were the colours used:

048

049

Basecoat – Liche purple.

Wash the recesses with black; then wash the entire purple area with smoke.

052

Layer Liche purple on the raised areas. Edge highlight with Liche purple + Cadian Fleshtone (1:1); then a final highlight of the same mix of Cadian fleshtone/ Liche purple + Ushabti bone. This last highlight was restricted to the wrists and elbows, otherwise it tends to make the overall effect look very bitty.

I then glazed the whole of the purple area with Baal Red + Asurmen Blue – normally I would just use Leviathan Purple, but it was running a bit low.

054

068

To paint the tongue – basecoat: warlock Purple.

Wash: black + smoke + burnt cadmium red + liche purple.

Layer: warlock purple.

Highlight: warlock purple + Cadian fleshtone.

Edge highlight: 1) Cadian fleshtone 2) Cadian fleshtone + Ushabti bone. 3) Ushabti bone

Finish with a glaze of Baal red (several thin coats are better than one undiluted).

069

070

072

As you can see, the genestealer’s base and the surrounding door need blending together with putty; but otherwise, done.